Using Image Nodes
With the latest version of Mind Map Maker, you can now use image nodes. You can also print and 'export as image' with image nodes.
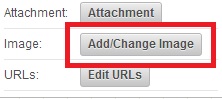
To add an image to a node select that particular node and click on 'Add/Change Image' on the inspector panel.
It brings 'Add/Change node Image' dialog.

To select an image, either click on the dashed rectangle area and select a file or drag and drop an image on to the dashed rectangle area.
Once an image is selected, it is loaded on the dashed rectangle.
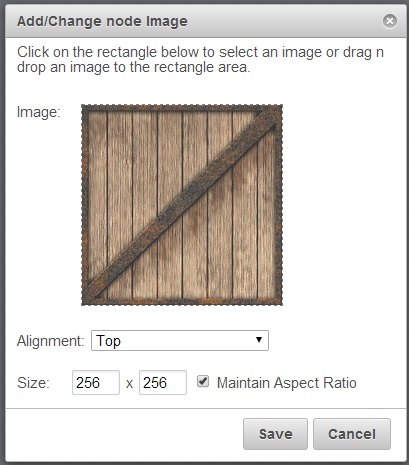
Select the appropriate alignment for your image and desired size. Then click 'Save'. Your node now should be having new image now.
To remove the image from the node, select that particular node and click on 'Add/Change Image' on the inspector panel. It brings 'Add/Change node Image' dialog again with a new button, 'Remove' this time.
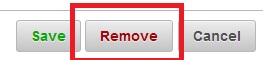
Click on 'Remove' button to remove the image from the node.